For different types of SKF bearing ring blanks, although the diameter series and external dimensions are different, the inspection items and inspection methods after turning are basically the same. The general inspection items and methods of SKF bearing ring turning processing are as follows:
1. Ferrule single width dimension Cs(Bs) and variation VCs(VBs)
Testing is carried out by comparing with block gauges or standard parts. As shown in Figure 1, when measuring, the reference end face of the tested ferrule is supported on three supporting blocks (also allowed to directly support on the measuring platform), the measuring point should deviate from the chamfer, and the measuring point is located directly above the one point. Different radial angular positions measure the single width of the ferrule, and the deviations are ∆Cs (∆Bs) respectively; the difference between the maximum and minimum distance between the two end faces measured by rotating the tested ferrule more than one circle on the instrument, Namely VCs (VBs). When testing, pay attention to exclude burrs and dirt.
2. End face flatness
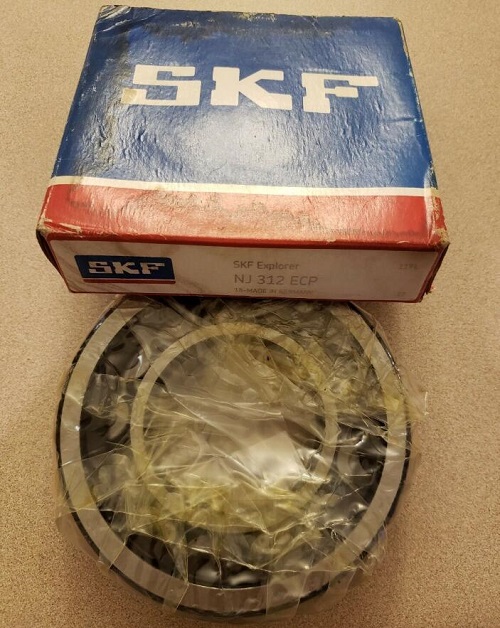
You can use a knife edge flat ruler (or a steel ruler) to check the distribution of the optical gap or measure it with an instrument. When testing, measure the end face size from the inside to the outside along the end face of the measuring table at the same angular position of the ferrule. The difference in the end face size is the end face inside and outside difference. SKF NJ312 ECP bearings online , today , ERIC BEARING LIMITED share photo :

3. Single outer diameter and single inner diameter size and variation
Including outer ring outer diameter Ds, inner ring inner diameter d2s, inner ring inner diameter ds, and outer ring outer inner diameter D2s. When measuring, use the method of comparing with standard parts for comparative measurement. At the same time, the measuring point should deviate from the chamfer. The distance from the measuring point to the end face is generally equal to or greater than twice the nominal size of the chamfer. When measuring, in any radial plane of the outer (inner) cylindrical surface, the diameter measured by rotating the ferrule more than one circle on the instrument is Ds, d2s, ds, D2s. In actual measurement, the measured value is the deviation of the diameter, namely ∆Ds, ∆d2s or ∆ds, ∆D2s. The difference between the maximum and minimum diameters measured over one revolution is the diameter variation VDsp, Vd2sp (Vdsp, VD2sp).
4. Average diameter variation VDmp(Vdmp)
In the same axial plane, use the reference section to locate the difference between the diameters of the two ends. When measuring, the measuring point should deviate from the chamfer, and the distance from the measuring point to the section is generally equal to or greater than twice the nominal size of the chamfer.
5. Roundness error ∆Cir
The roundness error is also called edgeness in the SKF bearing manufacturer. It refers to the difference between the radius of the circumscribed circle and the inscribed circle on the cross section of the equal-diameter polygon on the surface of the rotating body.
During ferrule turning processing, when a three-jaw chuck or a clamping device with the same principle as the three-jaw chuck is used, the product is prone to elastic deformation. At this time, although the processed surface is circular in the clamped state, but After the clamping force is removed, the original shape is restored, that is, a circular error occurs on the cut surface.
The detection of circular error can be carried out with D913, D914, H903, H904 and other instruments in conjunction with a tripod. When measuring, rotate the ferrule more than one circle, and the maximum and minimum measured on the same radial plane, the difference in size is Is ∆Cir.
However, after measuring with a tripod, the value of the measurement result has changed, and the changes are different for tripods with different angles.
6. Straightness of outer and inner diameter (d> 20mm) bus
When turning this project, generally use a knife-edge flat ruler or a steel ruler to check the light gap.
7. The radius and coordinate size of arc chamfering and the angle and coordinate size of non-arc chamfering
The radius, coordinate size and angle of the chamfer are checked with radius gauge, coordinate ruler and angle template respectively.
8. The quality of all processed surfaces
Surface quality includes surface roughness and surface defects (cutting damage, black burrs, bumps, soft grinding burns, cracks, etc.), as well as other required shapes, such as the oil groove on the outer diameter. The surface quality must be inspected in each process, usually by visual inspection or standard sample comparison method.
Hot Tags: