
1.Loosen the bolts securing the bearing housing. Remove the bearing together with the bearing seat from the shaft. Note before removing the bearing housing at one end of the shaft. The bearing seat bolts at the other end of the shaft should be loosened to prevent the bearings at both ends from being stiff and damaged.
2. Use an Allen wrench to loosen the locking screw on the bearing eccentric sleeve, and then use a small iron rod to insert the counterbore on the eccentric sleeve of the top cover, and loosen the eccentric sleeve against the rotation direction of the shaft.
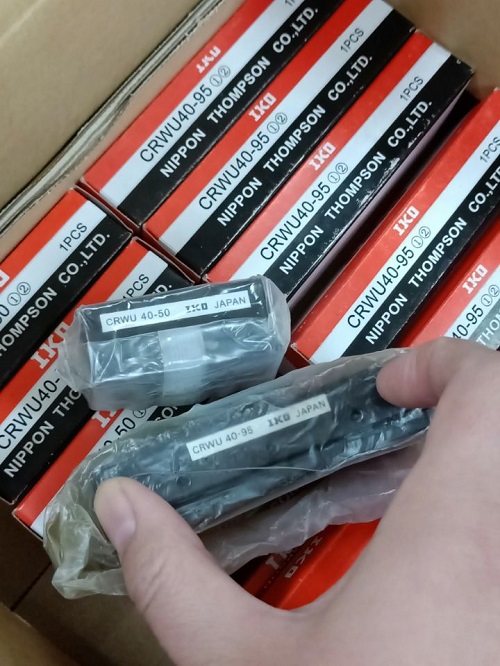
Many people use improper installation methods in the installation of IKO bearings, resulting in damage to the bearings. So how to install the bearings correctly? I hope you can have a more comprehensive understanding of the installation and disassembly of bearings: IKO CRWU40-50 bearings online pls click here :
For bearing rings with clearance fits, it is recommended to apply a thin layer of anti-creep corrosion agent to the mating surfaces to prevent frictional corrosion between the mating surfaces.
Correct installation is very important for the use of IKO bearings. I hope you can use the correct installation method in future use.
When installing, you can choose mechanical, heating or hydraulic methods according to its type and size. The force applied to the bearing during installation must not be transferred from one bearing ring to another through the rolling element, otherwise it may cause damage to the raceway. However, under no circumstances should you directly strike the bearing rings, cages, rolling elements or seals.
3. Install eccentric sleeve. First put the eccentric sleeve on the eccentric step of the bearing inner sleeve, and tighten it by hand along the rotation direction of the shaft. Then insert or hold the small iron rod into the countersink hole. Use a hammer to strike the iron rod in the direction of rotation of the shaft. Install the eccentric sleeve firmly, and finally tighten the hexagon socket screws on the eccentric sleeve.
4. Do not tighten the bolts to fix the bearing housing, but to allow the bearing jacket to rotate in the bearing housing. Then tighten the bearing seat bolts. Also install the other end bearing and seat on the same shaft, turn the shaft a few times, and let the IKO bearing itself find the correct position automatically.
5. Apply lubricating oil to the mating surfaces of the bearing housing and bearing, and install the bearing into the bearing housing. Then put the assembled bearing on the shaft together with the bearing seat. Push to the desired location to install.
6. Before installing the bearing on the shaft, you must first remove the fixing pin of the bearing jacket, at the same time polish the surface of the journal smooth and clean, and apply oil to prevent rust and lubricate the journal (allow the bearing to rotate slightly on the shaft).
Maintenance considerations
1. Tear off the seal of the bearing seal and remove the bayonet on the shaft;
2. Wipe the residual oil in the bearing with a clean tissue or soft cloth, and then wipe the shaft;
3. Put a little butter in the bearing, the principle is that it is better not to have less, so as not to seriously affect the speed;
4. Cut the aluminum skin of the canister as big as the outer diameter of the bearing bayonet, and dig a small hole in the middle that can just pass through the shaft, place it between the bearing and the bayonet, reduce The distance that the small bearing moves axially and parallelly. If the gap is large, it is necessary to pad a few thickenings to make the bearing's forward and backward movement distance below 0.5mm;
5. Seal the oil seal, add a little butter, and finally put the fan back on the graphics card. Try it after connecting to the power supply, you will find that the sound is much quieter, and it can be used for at least 2 years. But it should be reminded that although the sound is lower, because of the limited precision of the manual, the speed will drop slightly.
Hot Tags: